This blog will help you create a landing page in just a few minutes. Once you’ve set up your Next.js project, edit the
layout.tsx file located at app/layout.tsx.
Set Up the Root Layout
Next, we’ll update the root layout. Create or edit the layout.tsx file inside the app directory and paste the code below:
import type { Metadata } from "next";
import { Geist, Geist_Mono } from "next/font/google";
In this layout, the children prop represents the content of each page. This is where your landing page will be rendered,
wrapped automatically with the shared Navbar at the top and the Footer at the bottom.
Create the Landing Page
Next, we’ll add the landing page to the root page.tsx file. This page is rendered at the main domain
(for example, http://localhost:3000/). Add the following code to app/page.tsx:
import { Hero47 } from "@/components/hero47";
import { Feature43 } from "@/components/feature43";
import { Feature197 } from "@/components/feature197";
import { Feature166 } from "@/components/feature166";
import { Cta10 } from "@/components/cta10";
export default function Home() {
return (
<>
<Hero47 />
<Feature43 />
<Feature197 />
<Feature166 />
<Cta10 />
</>
);
}
Install shadcn/ui Blocks
You can use this tool to find shadcn/ui blocks and components, then install them using the provided
npx command:
Shadcn Block Finder
If you prefer a quicker setup, run the following npx commands to generate the components required for this landing page:
npx shadcn add @shadcnblocks/hero47
npx shadcn add @shadcnblocks/feature43
npx shadcn add @shadcnblocks/feature197
npx shadcn add @shadcnblocks/feature166
npx shadcn add @shadcnblocks/cta10
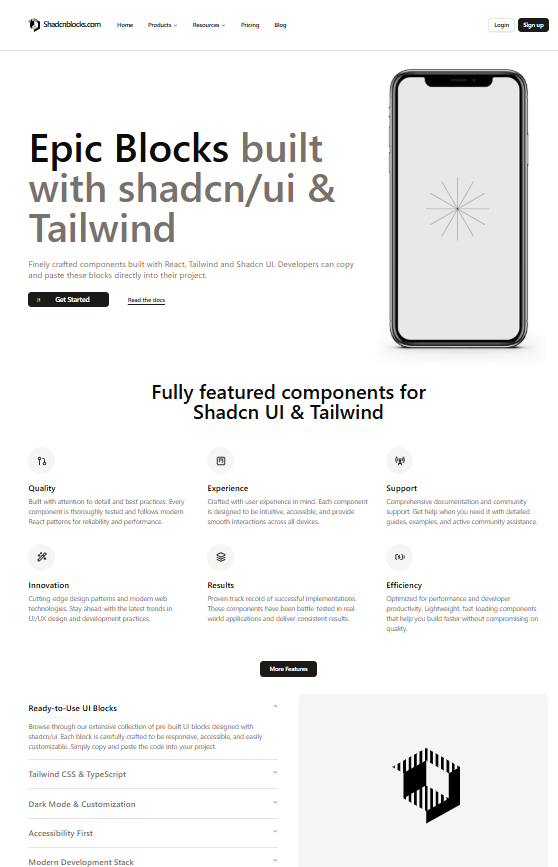
Final Landing Page Preview
Final landing page built using Next.js and shadcn/ui blocks and components