Richard Mendes
March 09, 2025 • 8 minsHow to Install Tailwind CSS 4 in a Vue 3 Application
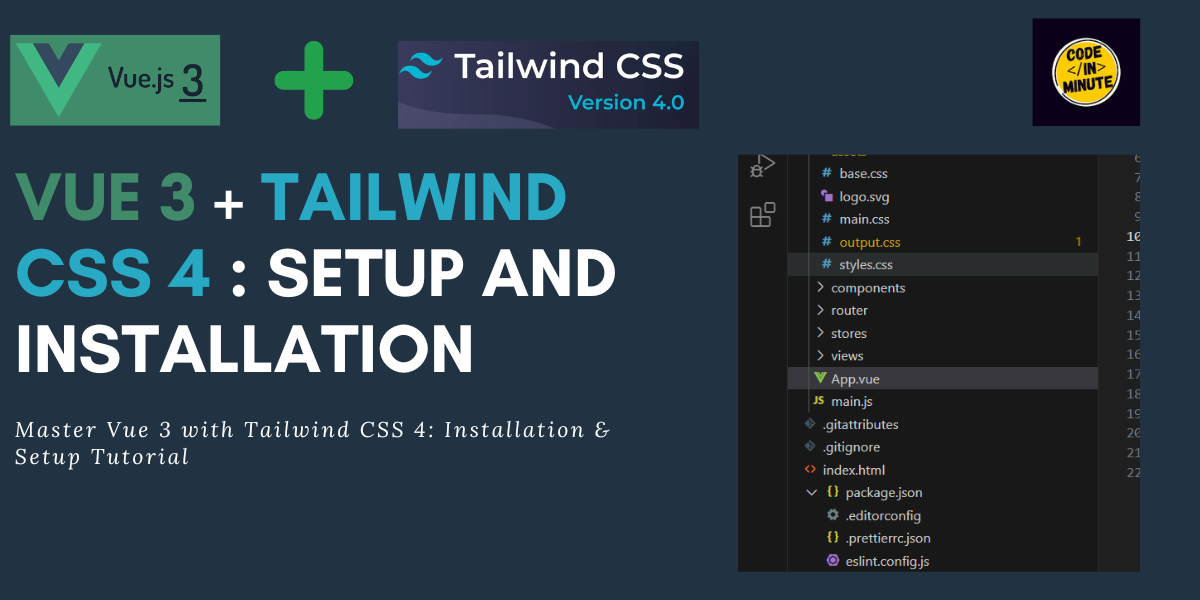
If you're looking to set up Tailwind CSS 4 in your Vue 3 application, this guide will walk you through the process step by step. Follow these instructions for a smooth setup.
Step 1: Visit the Tailwind CSS Website
Firstly, head over to the https://tailwindcss.com/docs/installation/using-vite website. Here, you will find the latest version of Tailwind CSS along with comprehensive installation instructions.
Step 2: Select the "Tailwind CLI" Tab
On the installation page, locate and click the "Tailwind CLI" tab. This method is straightforward and perfect for Vue 3 projects.
Step 3: Install Tailwind CSS and CLI
Run the following command in your terminal to install Tailwind CSS and its CLI:
This will add Tailwind CSS as a dependency to your project.
Step 4: Create and Configure Your Stylesheet
Next, navigate to your project's src/assets folder and open (or create) a file named styles.css. Inside this file, add the following import statement at the top of the page.
Step 5: Generate the Output CSS
Now run this command to compile Tailwind CSS into an output file:
This command does the following:
- i specifies your input file (styles.css).
- o defines the output file (output.css).
- watch ensures the CSS file will update automatically when you make changes.
After running this command, you should see an output.css file generated in your src/assets folder.
Step 6: Link the Output CSS in index.html
To apply Tailwind CSS to your project, include the output.css file in your index.html file. Add the following <link> tag inside the <head> section:
Step 7: Verify the Setup
Now restart your development server with:
Test Tailwind classes in your Vue components to ensure everything is working correctly.
